XGBoost Model Training with MLFLOW
In order to train the best XGBoost model we could, we then used MLFlow to design our own machine learning lifecycle.
After adding MLFlow to our conda environnement, we wrote a python script that would allow us to train a XGBoost model and to tune several parameters in order to have the best model we could while keeping tracks of the results of the model. (we were actually looking for the best possible precision for our model)
The python script can be found at :
/src/models/train_mlflow.py
As usual we started by loading the processed dataset and splitting it into training and testing set.
Code
Here is the actual part of code that allow us to use MLFlow to do experiments with several runs :
mlflow.set_experiment("XGBOOST")

with mlflow.start_run():

    XGB = XGBClassifier(objective='binary:logistic', eval_metric="logloss", use_label_encoder=False, eta=eta, subsample=subsample
                       , colsample_bytree=colsample)
    XGB.fit(X_train, y_train)

    y_pred = XGB.predict(X_test)
    acc = accuracy_score(y_test, y_pred)
    cm = confusion_matrix(y_test,y_pred)
    prec = precision_score(y_test, y_pred)

    hm = sb.heatmap(cm,annot=True, fmt='g')
    plt.savefig('hm.png')
    mlflow.log_artifact("hm.png")
    os.remove('hm.png')

    mlflow.log_metrics({"accuracy": acc,"precision": prec})
    mlflow.log_param("eta", eta)
    mlflow.log_param("colsample_bytree", colsample)
    mlflow.log_param("subsample", subsample)

    mlflow.sklearn.log_model(XGB, "XGB_model")
We start by defining our experiment name that will be “XGBOOST”
After that the mlflow.start_run() allow us to execute a run every time with run our python script.
Model arguments
    eta = float(sys.argv[1]) if len(sys.argv) > 1 else 0.3
colsample = float(sys.argv[2]) if len(sys.argv) > 2 else 1.0
subsample = float(sys.argv[3]) if len(sys.argv) > 3 else 1.0
This part of code allows us to parse argument when launching the python script.
Those argument are parameters that will be used to define our model.
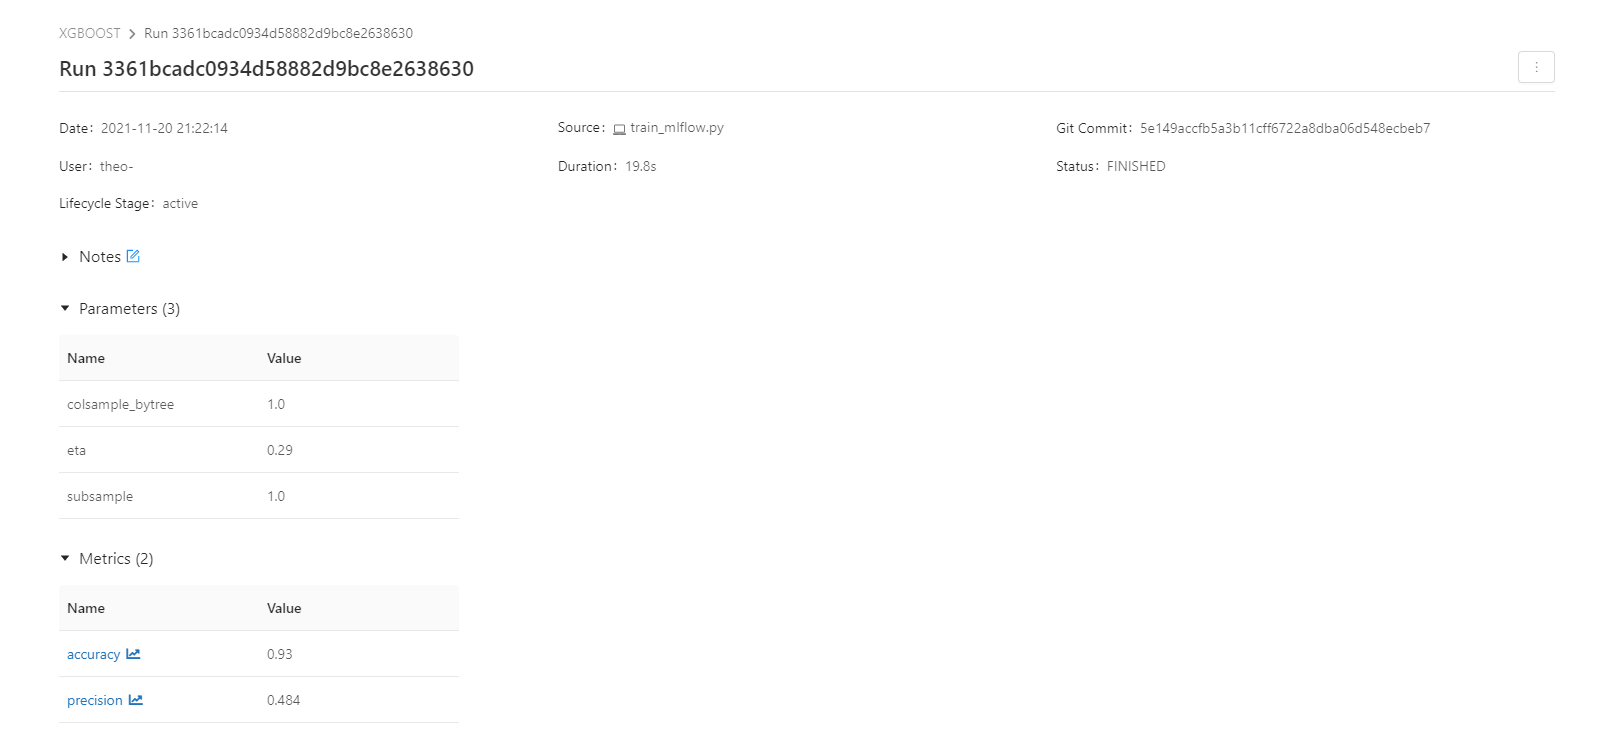
eta is the learning rate of the model
colsample is the colsample_bytree parameters, it is the subsample ratio of columns when constructing each tree. Subsampling occurs once for every tree constructed
subsample is the ratio of the training instances. Setting it to 0.5 means that XGBoost would randomly sample half of the training data prior to growing trees. and this will prevent overfitting. Subsampling will occur once in every boosting iteration.
from : https://xgboost.readthedocs.io/en/stable/parameter.html
Those parameters are the one we will tweek to try and have the best performances possible.
They are kept in the MLFlow logs of our model by using :
    mlflow.log_param("eta", eta)
mlflow.log_param("colsample_bytree", colsample)
mlflow.log_param("subsample", subsample)
Model metrics
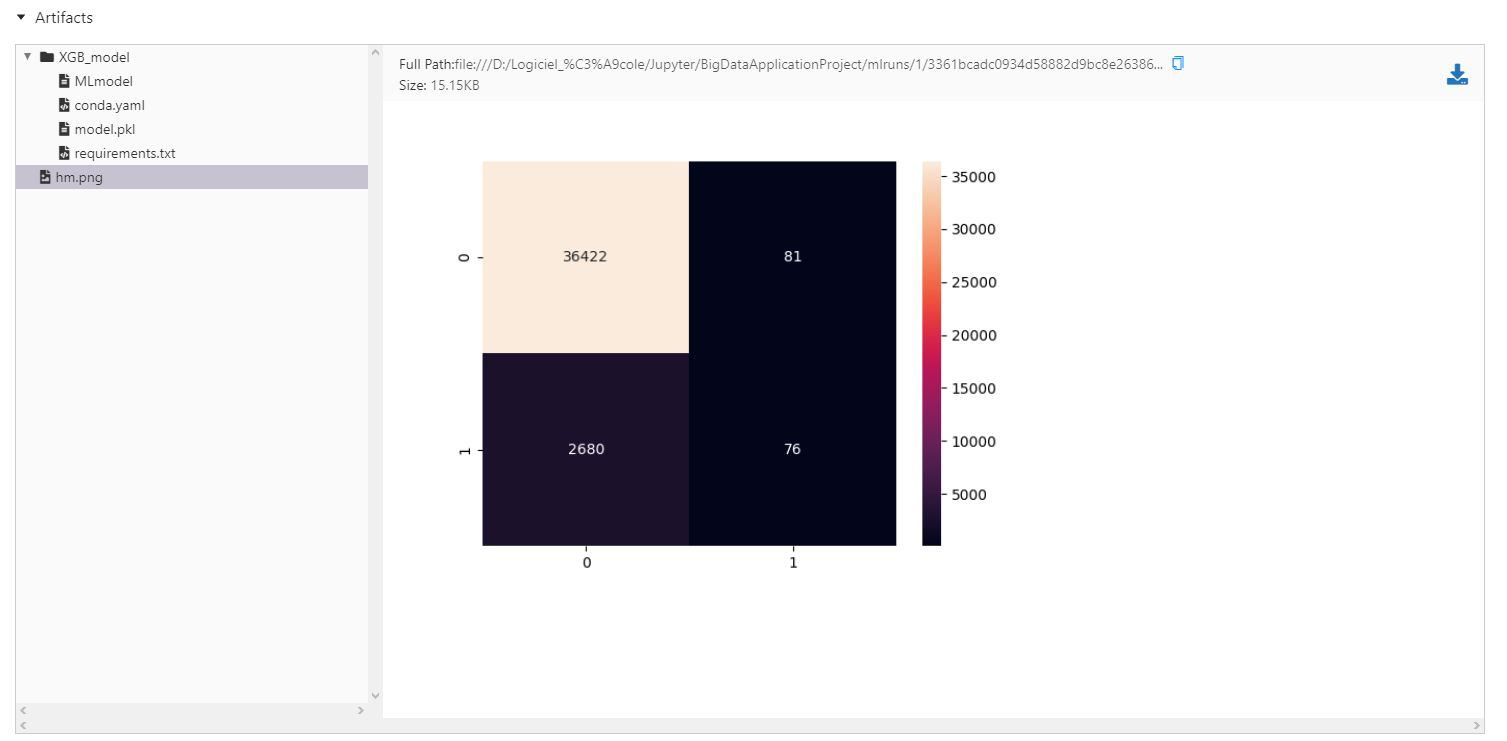
As we did before we use the accuracy, precision and confusion matrix to evaluate our models.
They are computed and stored in the MLFlow logs of our model by using :
y_pred = XGB.predict(X_test)
acc = accuracy_score(y_test, y_pred)
cm = confusion_matrix(y_test,y_pred)
prec = precision_score(y_test, y_pred)

hm = sb.heatmap(cm,annot=True, fmt='g')
plt.savefig('hm.png')
mlflow.log_artifact("hm.png")
os.remove('hm.png')

mlflow.log_metrics({"accuracy": acc,"precision": prec})
The confusion matrix is stored as .png by MLFlow that treats it as an artifact
Model storing
The model is also stored as a MLFlow artifact thanks to the command :
mlflow.sklearn.log_model(XGB, "XGB_model")
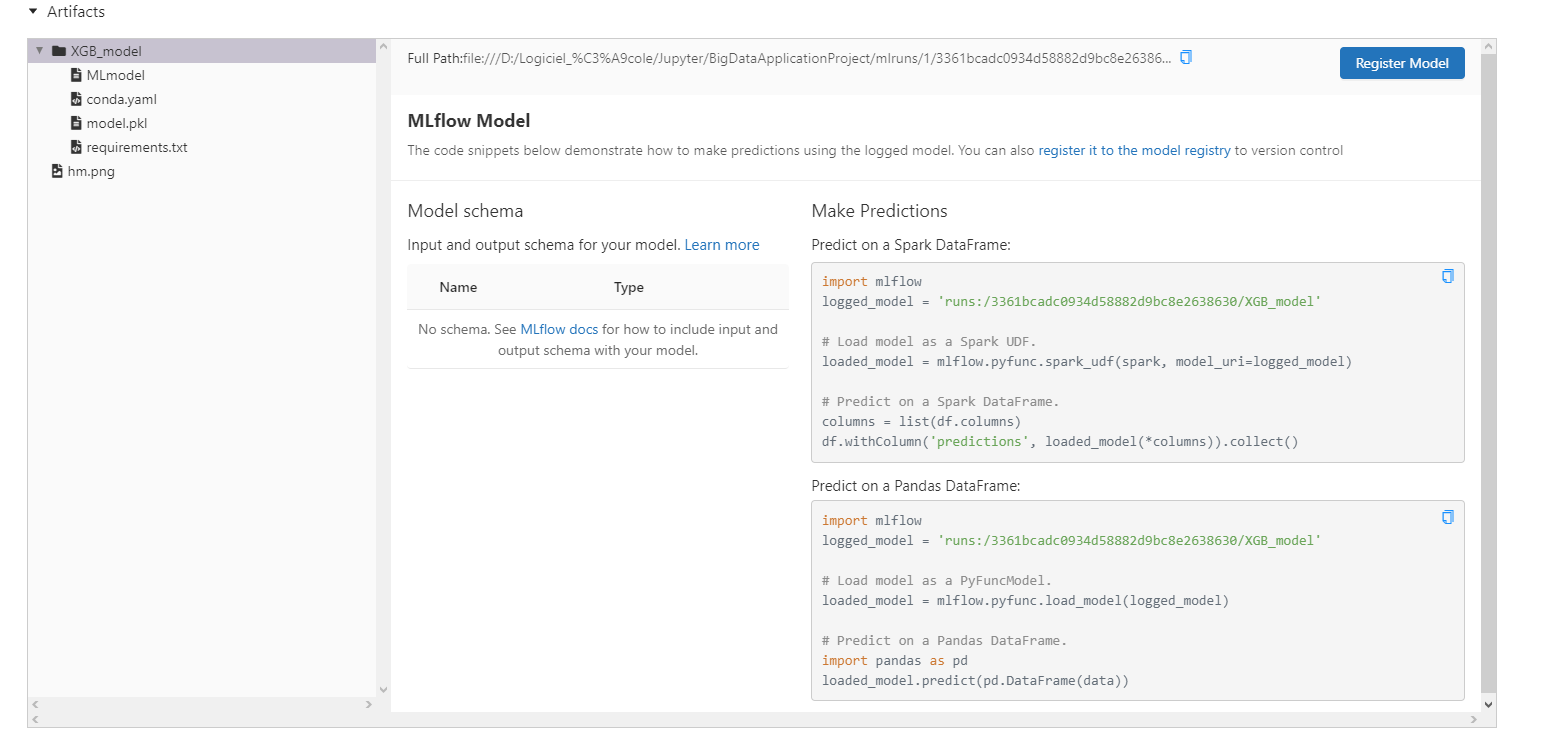
The model is stored as a .pkl file with a conda.yaml file and a requirements.txt file used to define the required environnement to use the model.
This will allow us to reuse the model we trained with MLFlow for the prediction part.
MLFlow UI
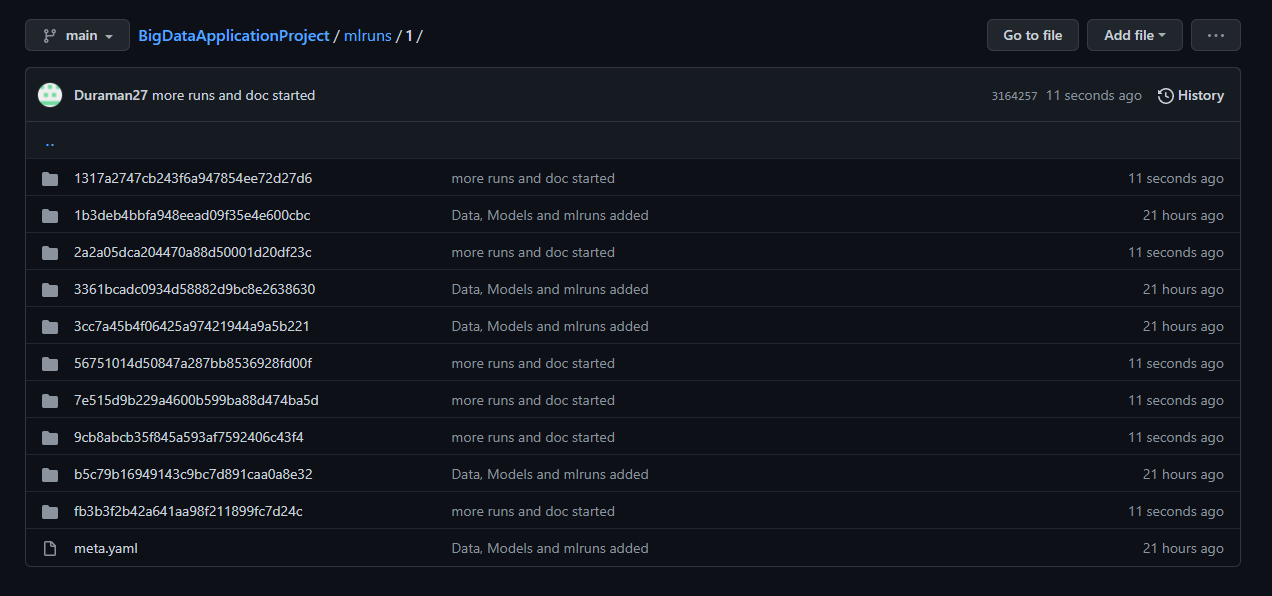
By running MLFlow ui from our base folder, it creates a folder named mlruns that contains our experiments run with all the information about the model.
The experiment id is 1 because the 0 is the default experiment that is always created when running mlflow ui


When MLFlow ui is running, we can access our runs in real time through a local web ui :

Each run we made is accessible and we can take a look at our logs.


